Let me tell you about last Tuesday morning when I walked into my kitchen, coffee mug in hand, ready to start my day with a peaceful breakfast routine. Instead, I was greeted by a sink full of murky water that had absolutely no intention of going anywhere. Sound familiar? We’ve all been there – that sinking feeling (pun intended) when you realize your sink has decided to go on strike.
After years of dealing with stubborn clogs in both my kitchen and bathroom sinks, I’ve learned that unclogging a sink doesn’t have to be a plumbing nightmare that sends you running for your phone to call a professional. Trust me, with the right approach and a little patience, you can tackle most sink clogs yourself and save both time and money. What you’re about to learn are the tried-and-true methods that have saved me countless headaches and helped me become the unofficial “sink whisperer” among my friends and family.
Table of Contents
Understanding Your Sink Clog Challenge
Before we dive into the solutions, let’s talk about what we’re really dealing with here. Sink clogs are typically caused by a buildup of everyday materials that somehow think your drain is the perfect place to set up camp. In kitchen sinks, you’re usually battling grease, food particles, and soap residue that have joined forces to create an impenetrable blockade. Bathroom sinks? That’s where hair, toothpaste, soap scum, and various personal care products love to throw their own little party.
The beauty of understanding your enemy is that it helps you choose the right weapon. This isn’t rocket science – it’s just about matching the right technique to your specific clog situation. Most clogs fall into the “minor to moderate” category, which means you can absolutely handle them with basic household tools and a systematic approach.
Difficulty Level: Beginner to Intermediate
Time Commitment: 15 minutes to 2 hours (depending on clog severity)
Success Rate: 85-90% for most common household clogs
Essential Tools and Materials You’ll Need
Here’s what I always keep in my “sink rescue kit” – and trust me, having these items on hand will make your life so much easier when disaster strikes:
Basic Arsenal:
- Rubber gloves (because nobody wants to get up close and personal with drain gunk)
- Plunger – specifically a cup plunger for sinks
- Drain snake or auger (a $5-10 investment that pays for itself)
- Bucket or large bowl for catching water
- Old towels for cleanup
- Flashlight or phone light for inspection
Natural Cleaning Solutions:
- Baking soda (1 cup minimum)
- White vinegar (1-2 cups)
- Hot water (as hot as your tap gets)
- Dish soap (preferably degreasing formula)
- Salt (regular table salt works fine)
Pro tip: Keep these supplies together in a small caddy under your sink. When you’re dealing with a clog, the last thing you want is to be hunting around the house for supplies while water is backing up everywhere.

Step-by-Step Unclogging Methods
Method 1: The Hot Water Flush (Start Here Every Time)
This is my go-to first move, and you’d be amazed how often this simple technique works wonders. Here’s the secret: most clogs, especially in kitchen sinks, are held together by cooled grease and soap buildup that hot water can dissolve.
Step 1: Remove any standing water from the sink using a cup or bucket. Don’t worry about getting every drop – just clear out the bulk of it.
Step 2: Boil a large pot of water (about 8-10 cups). While you’re waiting for it to boil, remove any visible debris from the drain opening. Sometimes you’ll find a clump of hair or food particles that’s the main culprit.
Step 3: Pour the boiling water down the drain in two or three stages, not all at once. Trust me on this – the staged approach gives the hot water time to work on different levels of the clog.
Step 4: Run your faucet to test the drainage. If water flows freely, congratulations! You’ve just saved yourself a lot of work. If not, don’t get discouraged – we’re just getting started.
Method 2: The Baking Soda and Vinegar Power Combo
This is where chemistry becomes your best friend. The reaction between baking soda and vinegar creates a fizzing action that can break up organic matter and push debris through your pipes.
Step 1: Pour 1 cup of baking soda directly down the drain. Use a funnel if you have one, or just pour slowly and tap the sides of the drain to help it go down.
Step 2: Follow with 1 cup of white vinegar. You’ll hear and see the fizzing reaction start immediately – this is where the magic happens!
Step 3: Quickly plug the drain with a rubber stopper or wet cloth. This keeps the reaction concentrated in your pipes where it can do the most good.
Step 4: Wait 15-30 minutes. I usually set a timer and use this time to clean up around the sink area.
Step 5: Remove the plug and flush with hot water for 2-3 minutes. The combination of the chemical reaction and hot water flush often breaks up stubborn clogs.
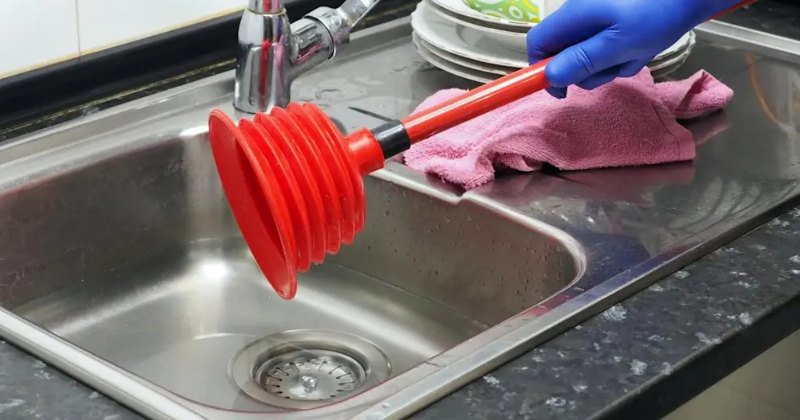
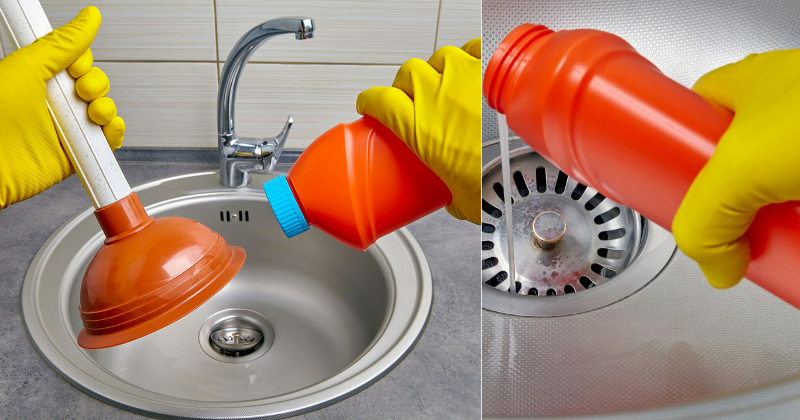
Method 3: The Plunger Technique (More Effective Than You Think)
Don’t skip this method just because it seems too simple. A proper plunging technique can create enough pressure to dislodge clogs that other methods can’t touch.
Step 1: Fill the sink with 2-3 inches of hot water. This creates a better seal and helps the plunger work more effectively.
Step 2: If your sink has an overflow opening (common in bathroom sinks), block it with a wet cloth or duct tape. Here’s why this matters: without blocking the overflow, you’ll lose the pressure you need to push the clog through.
Step 3: Place the plunger over the drain and create a tight seal. Use firm, quick plunges – about 15-20 strokes. You’re looking for that satisfying “whoosh” sound that tells you you’ve broken through.
Step 4: Remove the plunger quickly and see if the water drains. If it does, run hot water for several minutes to flush any remaining debris.
Method 4: The Drain Snake Attack (When Things Get Serious)
When gentle methods don’t work, it’s time to get mechanical. A drain snake is your secret weapon for clogs that are deeper in the pipes or made of material that won’t dissolve.
Step 1: Insert the snake into the drain opening and start feeding it down slowly. You’ll feel resistance when you hit the clog – don’t force it.
Step 2: Once you feel resistance, start turning the snake handle clockwise while applying gentle pressure. The goal here is to either break up the clog or hook onto it so you can pull it out.
Step 3: You might feel the snake break through the clog, or you might snag something and be able to pull it back up. Either outcome is a win!
Step 4: Run hot water to flush out any loosened debris. Sometimes you’ll need to repeat this process a few times to completely clear the blockage.
Pro Tips and Advanced Techniques
The Dish Soap Secret: Before trying any other method, squirt a generous amount of liquid dish soap down the drain, let it sit for 20 minutes, then flush with hot water. Dish soap is designed to cut through grease, and it often works better than expensive drain cleaners.
The Ice Cube Trick: For garbage disposal clogs, drop a handful of ice cubes and a tablespoon of salt down the disposal, run it for 30 seconds, then flush with cold water. The ice helps knock debris off the disposal blades.
Preventive Maintenance: Once a month, pour a kettle of boiling water down each drain in your house. Trust me, this simple habit prevents more clogs than any other single thing you can do.
When to Call a Professional: If you’ve tried all these methods and water still won’t drain, or if you notice sewage smells or multiple drains backing up simultaneously, it’s time to call in the pros. Sometimes the clog is deeper in your main line and requires professional equipment.
Troubleshooting Common Problems
Problem: The clog seems to clear, but then comes back within a few days.
Solution: You’re dealing with a partial blockage deeper in the line. Try the baking soda and vinegar method followed by a thorough hot water flush, then snake the drain to make sure you’ve cleared everything.
Problem: Nothing is working, and the water level isn’t going down at all.
Solution: You might have a complete blockage. Try the plunger method first, then move to snaking. Don’t worry if it takes time – some clogs are stubborn, but persistence usually wins.
Problem: Bad smells coming from the drain even after clearing the clog.
Solution: Pour 1/2 cup baking soda down the drain, followed by 1/2 cup vinegar, wait 15 minutes, then flush with hot water. The smell is usually from bacteria buildup that this combination will eliminate.
Conclusion and Final Encouragement
Here’s what I want you to remember: you’ve got this! Unclogging a sink might seem intimidating, especially when you’re standing there looking at a sink full of murky water, but with these proven methods in your toolkit, you’re prepared to handle whatever your drains throw at you.
Start with the simplest solutions first – that hot water flush has saved me more times than I can count. Work your way up through the methods systematically, and don’t get discouraged if the first technique doesn’t work. Sometimes it takes a combination of approaches, and that’s completely normal.
The best part? Once you’ve successfully cleared a few clogs using these methods, you’ll feel like a home maintenance superhero. Your future self will thank you for learning these skills, and your wallet will definitely appreciate not having to call a plumber for every minor clog.
Remember to practice that monthly preventive maintenance with the hot water flush – it’s so much easier to prevent clogs than to deal with them after they’ve formed. And hey, next time a friend calls you panicking about their clogged sink, you’ll be the hero who can walk them through the solution step by step.
Now go forth and conquer those clogs! Your sinks don’t stand a chance against your newfound expertise.

