
Let me tell you about the day I discovered that making caramel at home isn’t actually scary! I was standing in my kitchen, desperately needing something sweet to go with a dinner party dessert, when I remembered my grandmother’s old caramel recipe tucked away in her recipe box. What happened next was pure magic – and a bit of nervous sweating, I’ll admit!
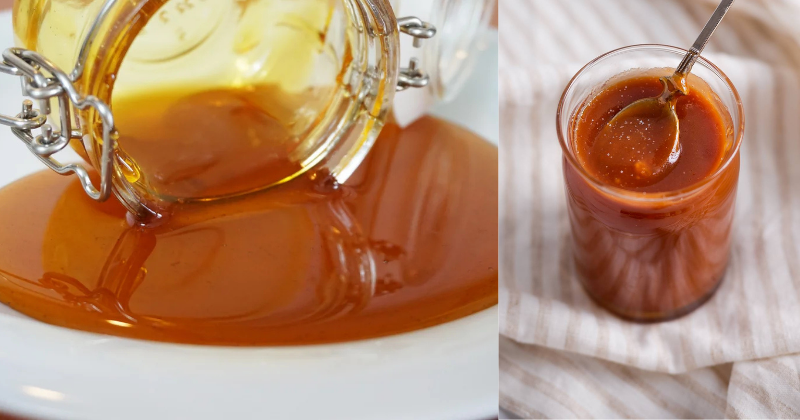
This salted butter caramel recipe has become my absolute go-to for everything from drizzling over ice cream to stirring into coffee. It’s rich, buttery, with just the right amount of sea salt to make your taste buds dance. The best part? You probably have all the ingredients sitting in your kitchen right now. Trust me, once you taste homemade caramel, you’ll never go back to the jarred stuff!
Table of Contents
What Makes This Salted Butter Caramel Special
This isn’t your average caramel sauce – it’s what I like to call “liquid gold.” The secret is in the technique and timing. We’re making what’s called a “wet caramel,” which means we start with sugar and water, then carefully cook it until it reaches that perfect amber color that screams “caramel perfection.”
Difficulty Level: Intermediate (don’t let this scare you!)
Total Time: 20 minutes
Yield: About 1½ cups of pure caramel bliss
What sets this recipe apart is the European-style salted butter we fold in at the end, plus a generous pinch of flaky sea salt that creates the most incredible sweet-salty balance. It’s sophisticated enough for fancy desserts but simple enough for a Tuesday night ice cream topping.
Ingredients
Serves: Makes about 1½ cups
Prep Time: 5 minutes
Cook Time: 15 minutes
- 1 cup granulated sugar (the star of the show)
- ¼ cup water (helps the sugar melt evenly)
- 6 tablespoons salted butter, cut into pieces (European-style works beautifully)
- ½ cup heavy cream, at room temperature (this is crucial!)
- 1 teaspoon vanilla extract (pure vanilla only, please)
- ½ to 1 teaspoon flaky sea salt (like Maldon or fleur de sel)
Pro tip: Make sure your cream is at room temperature before you start. Cold cream hitting hot caramel can cause it to seize up, and nobody wants lumpy caramel!
Ingredient substitutions: If you only have unsalted butter, just add an extra pinch of salt. Heavy cream is non-negotiable here – milk or half-and-half won’t give you that silky texture we’re after.
Cooking Method
Here’s where the magic happens, and I promise it’s easier than you think! The key is patience and keeping a close eye on your sugar.
Step 1: Set Up Your Station
Before you even turn on the heat, get everything ready. Have your butter pieces cut, cream measured and at room temperature, and a whisk within arm’s reach. Caramel moves fast once it starts, so preparation is everything!
Step 2: Make the Caramel Base
In a heavy-bottomed saucepan (this is important – thin pans create hot spots), combine the sugar and water. Give it a gentle stir to help the sugar dissolve, then stop stirring completely. This is where beginners often go wrong – resist the urge to stir!
Place the pan over medium-high heat and let the mixture bubble away. At first, it’ll look like sugar water, then it’ll start turning golden around the edges. This is where the magic happens!
Step 3: Watch for the Perfect Color
Here’s the secret: we’re looking for a deep amber color, like an old penny. It usually takes about 8-12 minutes, but watch the color, not the clock. The mixture will go from clear to pale gold to gorgeous amber. When you see that rich, deep color and smell that nutty caramel aroma, you’re ready for the next step.
Don’t worry if you see the sugar clumping at first – it’ll melt! And if you think it’s getting too dark too fast, just lower the heat slightly.
Step 4: Add the Butter (Carefully!)
Remove the pan from heat and immediately add your butter pieces. The mixture will bubble up dramatically – this is totally normal! Whisk until the butter is completely melted and incorporated. You’ve got this!
Step 5: Stream in the Cream
Now comes the fun part. While whisking constantly, slowly pour in your room-temperature cream. The mixture will bubble up again (it’s like a science experiment!), but keep whisking until everything comes together into silky smooth caramel.
Step 6: Finish with Vanilla and Salt
Whisk in the vanilla extract and start with ½ teaspoon of sea salt. Taste and add more if you want that extra salty punch – I usually go for the full teaspoon because I love that sweet-salty contrast.
Pro tip: The caramel will thicken as it cools, so don’t panic if it seems thin right now. It’s perfect!
Chef’s Tips & Variations
Let me share some hard-earned wisdom from my caramel-making adventures:
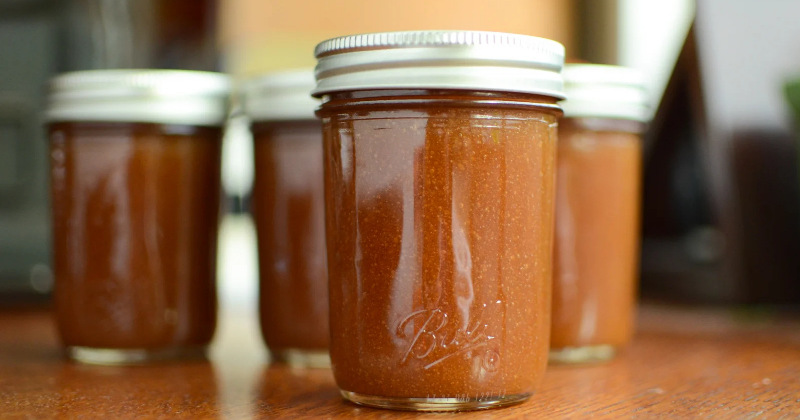
Storage secrets: This caramel keeps beautifully in the refrigerator for up to two weeks. Store it in a glass jar and gently reheat it in the microwave or on the stovetop when you want to use it. If it gets too thick, just whisk in a tablespoon of cream.
Flavor variations I love: Try adding a tablespoon of bourbon for a grown-up version, or swap the vanilla for almond extract for something different. A pinch of cinnamon makes it perfect for fall desserts.
Troubleshooting: If your caramel crystallizes (gets grainy), don’t panic! Add a tablespoon of water and gently reheat while whisking. It usually comes back together beautifully.
Serving suggestions: This caramel is incredible drizzled over vanilla ice cream, stirred into coffee, or used as a filling for macarons. I also love it with fresh pears or apples for an elegant dessert that feels fancy but takes five minutes to assemble.
Make-ahead tip: Double the recipe! Seriously, you’ll use every drop, and it makes gorgeous gifts in pretty jars. Just remember to include reheating instructions for your lucky recipients.
Final Thoughts
There’s something absolutely magical about making caramel from scratch. Yes, it requires a bit of attention and respect for the hot sugar, but the reward is so worth it. Every time I make this salted butter caramel, I’m reminded why homemade always wins.
The combination of rich, buttery sweetness with that perfect hit of sea salt creates something that store-bought versions just can’t match. Plus, there’s serious satisfaction in creating something this delicious from such simple ingredients.
So grab your heaviest saucepan, take a deep breath, and give this recipe a try. Start to finish, you’ll have restaurant-quality caramel in about 20 minutes. Drizzle it over everything, gift it to friends, or just eat it by the spoonful (I won’t judge!).
Trust me, once you master this salted butter caramel recipe, you’ll find excuses to make it again and again. It pairs beautifully with everything from simple vanilla cake to fresh fruit, and it’s the perfect finishing touch for any dessert that needs a little extra magic