
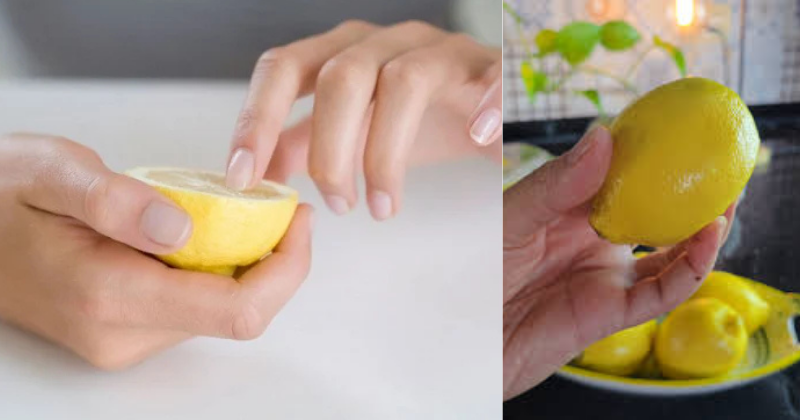
Let me tell you about the day I discovered this absolute game-changer! I was getting ready for my cousin’s wedding and noticed my nails looked dull and stained from all the cooking I’d been doing (occupational hazard of being a food blogger!). My teeth weren’t looking their brightest either after my recent coffee obsession. That’s when my grandmother shared this old family secret – a simple lemon mask that works wonders on both nails and teeth.
This natural lemon brightening mask has become my weekly ritual, and honestly, I wish I’d known about it years ago! The best part? You probably have everything you need sitting in your kitchen right now. This recipe combines the natural bleaching power of lemon with gentle ingredients that won’t damage your enamel or nail beds. Trust me, after just a few applications, you’ll notice a visible difference that’ll have you smiling (and showing off your nails) with confidence!
Table of Contents
Recipe Overview: Your New Beauty Secret
This DIY lemon brightening mask is incredibly simple but surprisingly effective. We’re talking about a 10-minute treatment that costs pennies to make and delivers results that rival expensive salon treatments. The natural citric acid in lemons acts as a gentle bleaching agent, while the other ingredients we’ll add help protect and nourish.
Difficulty Level: Beginner-friendly (seriously, if you can squeeze a lemon, you’ve got this!) Total Time: 15 minutes (including prep and application) Results: Visible brightening after 2-3 applications Perfect for: Weekly beauty maintenance or pre-event touch-ups
What makes this recipe special is its versatility – one mixture works for both your nails and teeth, making it the ultimate multitasking beauty treatment. Plus, it’s completely natural, so you know exactly what you’re putting on your body.
Ingredients for Natural Lemon Brightening Mask
Makes enough for 2-3 applications
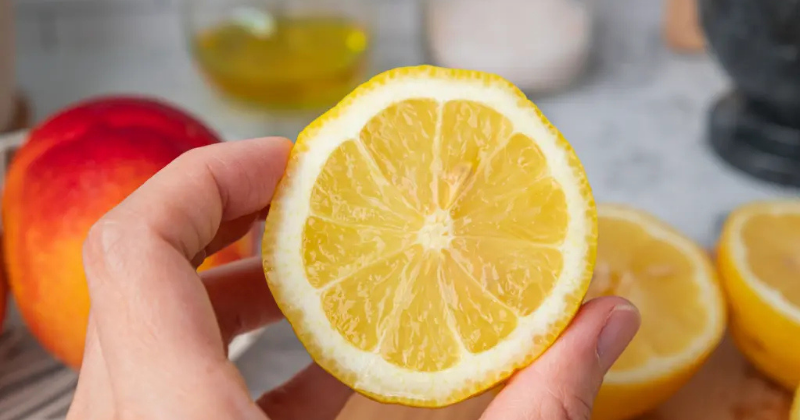
- 2 fresh lemons (medium-sized, juicy ones work best)
- 2 tablespoons baking soda (the gentle abrasive that does the heavy lifting)
- 1 tablespoon coconut oil (melted, for moisture and protection)
- 1 teaspoon sea salt (fine grain, not coarse – we want gentle!)
- Optional: 2 drops peppermint essential oil (for fresh breath and a spa-like experience)
Pro tip: Always use fresh lemons for this recipe! Those bottled lemon juices just don’t have the same potency. I learned this the hard way when my first attempt with bottled juice barely made a difference. Fresh is definitely best here!
Ingredient substitutions: If you don’t have coconut oil, olive oil works in a pinch, though coconut oil’s antimicrobial properties make it my preferred choice. No sea salt? Regular table salt will do, but use a bit less since it’s typically finer.
Cooking Method: Creating Your Brightening Mask
Total time: 15 minutes
Step 1: Prep Your Lemons (3 minutes)
Start by rolling your lemons on the counter while pressing down – this breaks down the internal membranes and gives you way more juice! Cut them in half and juice them into a small bowl. You’ll need about 1/4 cup of fresh lemon juice total.
Here’s where the magic starts – strain out any seeds or pulp. Those little bits might seem harmless, but they can be too abrasive for this delicate treatment. Trust me on this one!
Step 2: Create the Base Mixture (2 minutes)
In a small mixing bowl, combine your fresh lemon juice with the baking soda. This is where things get exciting – you’ll see it fizz slightly! That’s the chemical reaction that helps lift stains naturally.
Pro tip: Add the baking soda gradually while stirring. If you dump it all in at once, you might get a mini volcano situation (ask me how I know!). The mixture should have a paste-like consistency, not too thick, not too runny.
Step 3: Add the Protective Elements (1 minute)
Melt your coconut oil slightly – it should be warm but not hot. I usually just hold the container in my hands for a minute or microwave it for 10 seconds. Stir this into your lemon-baking soda mixture along with the sea salt.
If you’re using the peppermint essential oil, add it now. Just two drops! Essential oils are potent, and you don’t want to overwhelm the mixture or irritate your skin.
Step 4: Application for Nails (5 minutes)
Before applying anything, make sure your nails are clean and dry. Remove any nail polish completely – this treatment works best on bare nails.
Using a soft toothbrush or your fingers, gently massage the mixture onto each nail and the surrounding cuticle area. Don’t scrub hard! The acids are doing the work, so gentle circular motions are all you need.
Let the mixture sit on your nails for 3-4 minutes maximum. You might feel a slight tingling – that’s normal! But if you experience any burning or severe irritation, rinse immediately.
Step 5: Application for Teeth (3 minutes)
Here’s the secret to using this safely on your teeth: less is more. Take about half a teaspoon of the mixture and apply it to your teeth using a soft-bristled toothbrush. Focus on the front teeth where staining is most visible.
Gently brush for 1-2 minutes maximum. The key word here is gentle – let the ingredients do their job without aggressive scrubbing that could damage your enamel.
Step 6: The Rinse and Reveal (2 minutes)
Rinse your nails and mouth thoroughly with cool water. For your mouth, I recommend swishing with plain water for about 30 seconds to make sure all the mixture is gone.
Pat your nails dry and apply a good cuticle oil or hand cream. The treatment can be slightly drying, so this step is crucial for keeping your nails healthy.
Chef’s Tips & Variations: Maximizing Your Results
Storage wisdom: This mixture is best used fresh, but you can store leftovers in the refrigerator for up to 3 days. Just give it a good stir before using again, as ingredients tend to separate.
Frequency guidelines: For nails, you can use this treatment 2-3 times per week. For teeth, I recommend no more than twice a week to protect your enamel. More isn’t always better with natural acids!
Pro tip for stubborn stains: If you’re dealing with really tough nail stains (looking at you, red nail polish mishaps!), try soaking your nails in plain lemon juice for 2 minutes before applying the mask. This pre-treatment can work wonders.
Seasonal variation: During winter when my skin gets drier, I add an extra teaspoon of coconut oil to make the mixture more moisturizing. Your nails will thank you for the extra TLC!
Pairing suggestions: I love doing this treatment right before a manicure or teeth whitening session. It creates the perfect clean slate and helps professional treatments work even better.
Troubleshooting tips: If the mixture feels too gritty, you can strain it through a fine mesh to remove larger salt crystals. If it’s too liquid, add a bit more baking soda until you get that perfect paste consistency.
Travel-friendly version: Mix the dry ingredients (baking soda and salt) in a small container, then just add fresh lemon juice and oil when you’re ready to use it. Perfect for maintaining your routine on vacation!
Embrace Your Natural Glow
There’s something incredibly satisfying about creating your own beauty treatments from simple, natural ingredients. This lemon brightening mask has become such a staple in my routine that I actually look forward to my weekly “lemon sessions.”
The results speak for themselves – brighter nails that look healthy and strong, and teeth that gleam with natural confidence. Plus, you’ll love the fresh, clean feeling this treatment leaves behind. It’s like a mini spa day that costs less than a fancy coffee!
Give this recipe a try, and don’t be surprised if friends start asking about your beauty secrets. Sometimes the best solutions are hiding right in our kitchen cabinets, waiting to transform our routine. You’ve absolutely got this – your brightest smile and most beautiful nails are just a lemon squeeze away!
Ready to glow? Mix up a batch this weekend and prepare to fall in love with this simple yet powerful beauty ritual. Trust me, your future self will thank you for discovering this natural brightening secret!