
Introduction
Let me tell you, getting an air fryer was one of those game-changing kitchen moments that I didn’t see coming! I was honestly skeptical at first – like, how could this countertop appliance really replace my beloved deep fryer and oven? But after months of experimenting and discovering all the incredible things this little powerhouse can do, I’m completely converted.
Whether you’re a complete air fryer newbie or you’ve had one sitting on your counter wondering what magic you can create with it, I’m here to share all my hard-earned wisdom. From the mistakes I made early on (hello, smoke alarm incidents!) to the absolute game-changing techniques that transformed my cooking, these recommendations will help you master your air fryer like a pro. Trust me, once you nail these basics, you’ll wonder how you ever lived without this amazing appliance!
Table of Contents
Air Fryer Overview: Your New Kitchen Best Friend
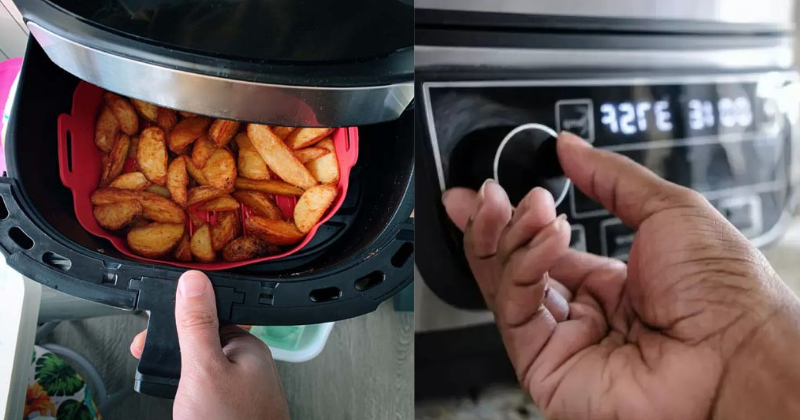
The air fryer is essentially a countertop convection oven that circulates superheated air around your food at incredible speeds. What makes it so special is how it creates that perfect crispy exterior while keeping the inside tender and juicy – all with little to no oil needed!
What makes air frying unique: The rapid air circulation technology means you get restaurant-quality crispiness in a fraction of the time it would take in a conventional oven. Plus, cleanup is absolutely minimal compared to traditional frying methods.
Difficulty level: Beginner-friendly! Even if you’re intimidated by cooking, the air fryer is incredibly forgiving and produces consistent results.
Time commitment: Most foods cook 20-25% faster than conventional methods, making weeknight dinners a breeze.
Essential Air Fryer Recommendations
Temperature and Timing Guidelines
- Vegetables: 375°F for 10-15 minutes
- Chicken pieces: 380°F for 12-18 minutes
- Fish fillets: 400°F for 8-12 minutes
- Frozen foods: Follow package directions, reduce time by 2-3 minutes
- Baked goods: 320°F for 15-25 minutes
Must-Have Accessories
- Parchment paper with holes (lifesaver for easy cleanup!)
- Silicone tongs for safe food handling
- Small cake pans that fit your basket
- Meat thermometer for perfect doneness every time
Food Prep Essentials
- Oil spray bottle filled with your favorite cooking oil
- Uniform sizing – cut everything roughly the same size for even cooking
- Pat dry completely – moisture is the enemy of crispiness!

Step-by-Step Air Fryer Mastery Guide
Step 1: Preheating is Key (3-5 minutes)
I learned this the hard way after wondering why my first few attempts weren’t as crispy as expected. Always preheat your air fryer! Just like a regular oven, this step ensures even cooking from the moment your food goes in.
Pro tip: While it’s preheating, use this time to prep your ingredients. Efficiency is everything in the kitchen!
Step 2: Don’t Overcrowd the Basket
This was probably my biggest rookie mistake. I thought I could pile everything in and it would magically work – nope! Air needs to circulate freely around each piece of food.
The golden rule: Fill the basket no more than 2/3 full, and arrange items in a single layer when possible. Trust me, cooking in batches is worth the extra few minutes for that perfect crispiness.
Step 3: The Light Oil Touch
Here’s where the magic happens! You don’t need to drench your food in oil like traditional frying, but a light coating makes all the difference for texture and flavor.
My favorite technique: Use a spray bottle filled with avocado or olive oil. Give everything a light, even coating. For breaded items, spray again halfway through cooking – this creates an incredibly golden, crispy exterior.
Step 4: Shake It Up
Set a timer for halfway through your cooking time and give that basket a good shake! This ensures even browning on all sides and prevents any sticking.
Don’t worry if you forget occasionally – your food won’t be ruined, but you might get some uneven browning. We’ve all been there!
Step 5: Check for Doneness
Use a meat thermometer for proteins, and remember that carryover cooking continues even after you remove food from the air fryer. Visual cues are your friend – look for that beautiful golden-brown color and listen for that satisfying sizzle.
Step 6: Rest and Serve
Let proteins rest for 3-5 minutes after cooking. This allows juices to redistribute, giving you incredibly tender results. For vegetables and other items, serve immediately while they’re at peak crispiness!
Chef’s Tips & Variations
Professional cooking tips that changed everything for me:
The paper towel trick: For extra-crispy results with naturally moist foods like mushrooms or zucchini, pat them dry with paper towels and let them sit for 10 minutes before cooking. This removes excess moisture that can prevent proper crisping.
Temperature adjustment secret: If something is browning too quickly but isn’t cooked through, lower the temperature by 25°F and extend the cooking time. Your air fryer runs hot, and this simple adjustment prevents burning while ensuring even cooking.
The flip factor: For thicker items like chicken breasts or pork chops, flip them at the halfway point instead of just shaking the basket. This ensures both sides get that beautiful golden color.
Possible variations and substitutions:
- Seasoning blends: Experiment with different spice combinations – Italian herbs, taco seasoning, or even everything bagel seasoning work brilliantly
- Oil alternatives: Try different oils like coconut oil for a subtle sweetness, or sesame oil for Asian-inspired dishes
- Coating options: Panko breadcrumbs, crushed cornflakes, or even crushed nuts create amazing textures
Storage and reheating instructions: Leftover air-fried foods reheat beautifully! Use 350°F for 2-3 minutes to restore that original crispiness. Store leftovers in the refrigerator for up to 3 days, but honestly, they’re best enjoyed fresh.
Perfect pairings: Air-fried proteins pair wonderfully with fresh salads, roasted vegetables, or even a simple side of rice. The crispy textures contrast beautifully with softer accompaniments.
Troubleshooting common issues:
- Food not crispy enough? Check that you’re not overcrowding and ensure ingredients are dry before cooking
- Smoke in the air fryer? Usually caused by excess oil or food particles – clean regularly and use oil sparingly
- Uneven cooking? Make sure pieces are similar in size and shake the basket more frequently
Conclusion
The air fryer has honestly revolutionized how I approach weeknight cooking, and I know it’ll do the same for you! What started as curiosity about this trendy appliance has turned into genuine love for how it makes healthy, delicious food so incredibly accessible.
You’ve got this! Start with simple foods like vegetables or chicken pieces to build your confidence, then work your way up to more adventurous recipes. Don’t be afraid to experiment – some of my favorite discoveries happened when I decided to just try something new.
The beauty of air fryer cooking is that it’s incredibly forgiving while delivering consistently impressive results. Whether you’re meal prepping for the week, cooking for your family, or just want to treat yourself to something crispy and delicious, these techniques will serve you well.
Grab that air fryer, pick your favorite ingredients, and start creating! I’d love to hear about your air fryer adventures and any creative combinations you discover. Happy cooking, and prepare to fall in love with the easiest way to achieve crispy, golden perfection right on your countertop!