
Let me tell you a little secret that changed my baking game forever. Last year, I was frantically preparing for my daughter’s birthday party when I realized I’d completely forgotten to make her cake from scratch like I’d promised. With only a box of vanilla cake mix in my pantry and twenty kids arriving in four hours, I was in full panic mode! That’s when my grandmother’s voice echoed in my head: “Honey, it’s not about the box – it’s about what you add to it.”
What followed was the most delicious “homemade” cake I’d ever made, and nobody could believe it started with a simple box mix. The birthday girl declared it better than bakery cake, and I’ve been perfecting these techniques ever since. Today, I’m sharing every single trick that transforms ordinary boxed cake into something that tastes like you spent hours measuring flour and creaming butter.
These simple swaps and additions will have everyone asking for your “secret family recipe” – and the best part? You’ll have it ready in half the time with foolproof results every single time!
Table of Contents
Recipe Overview
This isn’t just about following the box directions – we’re completely elevating the entire cake experience! By making strategic substitutions and additions, we’re essentially using the box mix as our foundation while building layers of flavor and texture that rival any from-scratch recipe.
The beauty of this method is that you get all the convenience of boxed cake mix with none of the telltale artificial taste. What makes this approach unique is that we’re not just adding one or two ingredients – we’re creating a complete flavor transformation system that works with any box mix variety.
Difficulty Level: Beginner-friendly (seriously, if you can measure and mix, you’ve got this!)
Total Time: About 45 minutes (including baking time)
Serves: 12-16 people (depending on your slice generosity!)
Ingredients
For the Enhanced Cake Mix:
- 1 box cake mix (any flavor – vanilla, chocolate, yellow work beautifully)
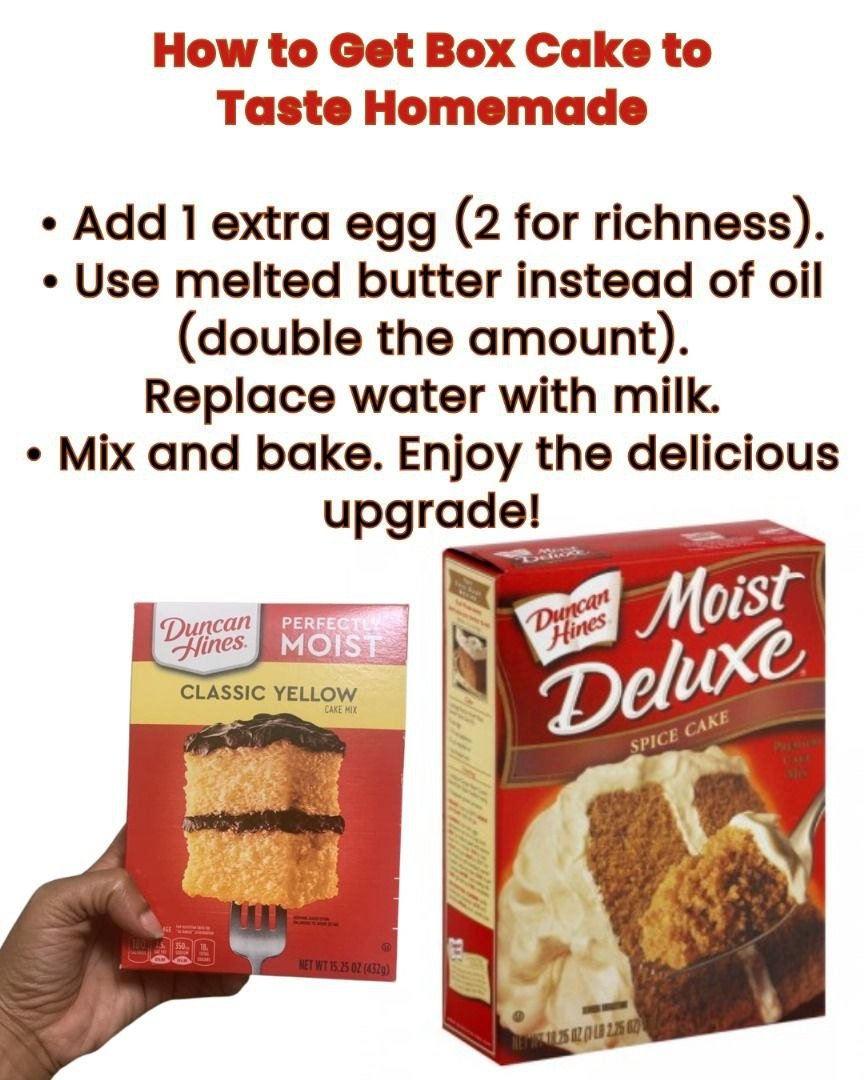
- 4 large eggs (instead of what the box calls for)
- 1 cup buttermilk (replaces the water)
- 1/2 cup melted butter (instead of oil)
- 1 package instant pudding mix (matching or complementary flavor)
- 1 teaspoon pure vanilla extract (even if using chocolate mix)
- 1/4 teaspoon almond extract (optional, but trust me on this!)
- 2 tablespoons sour cream or Greek yogurt
Pro tip: Always use room temperature eggs and buttermilk for the smoothest batter. Cold ingredients can cause the melted butter to seize up and create lumpy spots!
Ingredient Substitutions & Tips:
- No buttermilk? Add 1 tablespoon vinegar to regular milk and let it sit for 5 minutes
- Pudding flavors: Vanilla works with everything, but try chocolate with chocolate cake, or butterscotch with yellow cake
- Butter substitute: You can use melted coconut oil, but butter gives the most authentic homemade flavor
- For extra richness: Replace one egg with an extra egg yolk
Cooking Method
Step 1: Prep Your Pan and Oven
Preheat your oven to 325°F (yes, 25 degrees lower than the box says – this is where the magic starts!). Generously grease your pan with butter, then dust with flour. This old-school method prevents sticking way better than cooking spray alone.
Here’s my secret: After flouring, I tap out the excess and then lightly spray with cooking spray. It creates this perfect non-stick barrier that makes removal foolproof every time!
Step 2: Create Your Enhanced Base
In a large mixing bowl, combine the cake mix and pudding mix. Whisk them together until well combined. This dry pudding mix is going to add incredible moisture and richness – it’s honestly the game-changer ingredient that makes people think you spent hours baking from scratch.
Step 3: Build Your Wet Ingredients
In a separate bowl, whisk together the room temperature eggs, buttermilk, melted butter, vanilla extract, almond extract, and sour cream. Pro tip: Make sure your melted butter isn’t too hot, or it’ll cook the eggs when you combine everything!
The buttermilk is doing heavy lifting here – it adds tang and tenderness that you just can’t get from plain water. Trust me, this one swap makes the biggest difference in achieving that homemade taste.
Step 4: Combine and Mix Like a Pro
Pour the wet ingredients into the dry mixture and mix on medium speed for 2 minutes. Don’t worry if it looks a bit thicker than usual boxed cake batter – that’s exactly what we want! The sour cream and pudding mix create this luxurious, dense batter that bakes up incredibly moist.
Here’s where the magic happens: Let the batter rest for 5 minutes before pouring into your pan. This allows the pudding mix to fully hydrate and creates an even more tender crumb.
Step 5: Bake Low and Slow
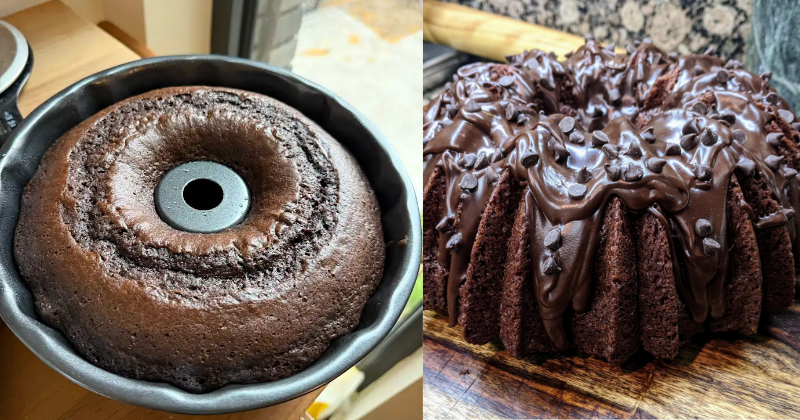
Pour the batter into your prepared pan and bake at that lower temperature (325°F) for about 35-40 minutes, or until a toothpick comes out with just a few moist crumbs. The lower temperature prevents the outside from cooking too quickly and ensures even baking throughout.
Don’t worry if it takes a few extra minutes – every oven is different! Start checking at 30 minutes, but don’t be surprised if it needs up to 45 minutes for a perfectly baked cake.
Step 6: The Cool Down
Let the cake cool in the pan for 10 minutes, then turn it out onto a wire rack. This cooling time is crucial – it allows the cake to set up properly so it doesn’t fall apart when you remove it from the pan.
Chef’s Tips & Variations
Professional Baking Secrets:
- For chocolate cake: Add 2 tablespoons of strong coffee to intensify the chocolate flavor
- For white/vanilla cake: A tablespoon of lemon zest makes it taste incredibly fresh and homemade
- The pudding trick: Always match or complement your pudding flavor – vanilla pudding works with everything, but chocolate pudding in chocolate cake creates this incredible fudgy depth
Flavor Variations to Try:
- Lemon Bliss: Use lemon cake mix with vanilla pudding, add lemon zest and replace almond extract with lemon extract
- Chocolate Decadence: Chocolate mix + chocolate pudding + strong coffee + a pinch of espresso powder
- Strawberry Dream: Strawberry mix + vanilla pudding + freeze-dried strawberries ground into powder
Storage & Serving: This cake stays incredibly moist for up to 4 days at room temperature when properly covered. For longer storage, wrap individual slices and freeze for up to 3 months. Pro tip: Slightly warm frozen slices in the microwave for 15-20 seconds – they’ll taste freshly baked!
Perfect Pairings: This enhanced cake pairs beautifully with homemade buttercream, cream cheese frosting, or even just a dusting of powdered sugar and fresh berries. The cake itself is so flavorful and moist that it honestly doesn’t need much embellishment.
Troubleshooting Tips:
- Cake too dense? Don’t overmix – stop as soon as ingredients are combined
- Dry cake? Your oven might run hot – try baking at 300°F next time
- Sunken center? Don’t open the oven door for the first 25 minutes of baking
Final Thoughts
You’ve got this! This recipe has saved me countless times when I needed a show-stopping dessert without the from-scratch time commitment. The best part? Every single person who tries this asks for the recipe, and when I tell them it started with a box mix, they’re absolutely shocked.
There’s no shame in using shortcuts when they produce results this incredible. Your family and friends will taste the love and effort you put into these special touches, and that’s what really makes any cake “homemade” – the care you put into making it special.
Go ahead and give this method a try with your favorite cake mix flavor. I guarantee you’ll never go back to the basic box instructions again! And hey, if you’re feeling extra ambitious, this cake makes an absolutely perfect base for layer cakes, sheet cakes, or even cupcakes. The possibilities are endless when you’ve got this foolproof foundation in your baking arsenal.
Happy baking, and remember – the secret ingredient is always love (and a little extra butter doesn’t hurt either)!