
I used to be one of those people who thought brown rice was just punishment food – you know, the cardboard-textured stuff you choke down because it’s “good for you.” But let me tell you, that all changed when I finally learned the secret to making brown rice that’s actually delicious. This happened during my early days of trying to eat healthier, when I was fumbling around my tiny apartment kitchen, determined to master the basics. After probably fifteen failed attempts (yes, I counted), I discovered the game-changing technique that transforms tough, chewy brown rice into perfectly fluffy, nutty grains that even my picky kids actually ask for seconds of!
This isn’t just another brown rice recipe – it’s the method that turned me from a brown rice skeptic into a true believer. Once you master this technique, you’ll have a versatile, nutritious base for countless meals. Trust me, your grain game is about to level up significantly!
Table of Contents
Recipe Overview
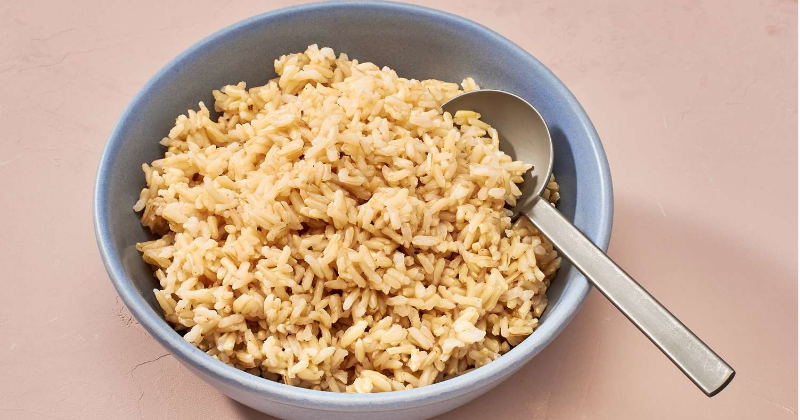
This foolproof brown rice method delivers perfectly cooked grains every single time. What makes this recipe special is the combination of proper ratios, timing, and a crucial resting period that most people skip. The result? Light, fluffy brown rice with a delightfully nutty flavor and tender texture that’s nothing like the mushy disappointment you might be used to.
Difficulty Level: Beginner-friendly (seriously, if I can master this, anyone can!)
Total Time: 55 minutes (mostly hands-off)
Servings: 4-6 generous portions
The beauty of this method is that it’s completely hands-off once you get it started. No constant stirring, no guesswork – just perfectly cooked rice that becomes the foundation for everything from grain bowls to stir-fries.
Ingredients
Serves 4-6 people
- 2 cups long-grain brown rice (I prefer jasmine or basmati brown rice for the best texture)
- 3 cups filtered water (the ratio is key here!)
- 1 teaspoon fine sea salt
- 1 tablespoon butter or olive oil (optional, but adds richness)
Ingredient Tips: Always use long-grain brown rice for this method – short-grain varieties need different ratios and timing. If you can only find regular brown rice, that works too, but the jasmine and basmati varieties have such a lovely fragrance that really elevates the final dish. Pro tip: buy your brown rice from stores with high turnover, as older rice takes longer to cook and can taste stale.
Don’t skip the salt! It’s not just for flavor – it actually helps the rice cook more evenly. And that optional fat? It prevents sticking and adds a subtle richness that makes the rice taste more restaurant-quality.
Cooking Method
Total cooking time: 55 minutes
Step 1: Rinse and Toast (5 minutes)
Start by rinsing your brown rice in a fine-mesh strainer until the water runs clear. This removes excess starch and prevents gumminess – trust me on this one! I learned this the hard way after many sticky rice disasters.
Heat a heavy-bottomed saucepan over medium heat. Add the drained rice and toast it for about 2-3 minutes, stirring frequently. You’ll hear it start to crackle slightly, and it’ll smell wonderfully nutty. This step is pure magic – it deepens the flavor and helps each grain stay separate.
Step 2: Add Liquid and Bring to Boil (5 minutes)
Here’s where the magic ratio comes in: carefully add your 3 cups of water (it might sputter a bit from the hot pan), salt, and butter if using. Stir once to combine, then bring to a rolling boil over high heat.
The moment you see those big bubbles, you’re ready for the next crucial step. Don’t walk away during this part – timing matters!
Step 3: The Simmer-and-Cover Technique (45 minutes)
Once boiling, immediately reduce heat to the lowest setting your stove allows. Cover the pan with a tight-fitting lid – this is super important for even cooking. Now comes the hardest part: resist the urge to peek! I know it’s tempting, but lifting that lid releases precious steam.
Let it simmer on low for exactly 45 minutes. Set a timer because guessing never works out well (learned this lesson multiple times!). During this time, the rice absorbs all the liquid and steam-cooks to perfection.
Step 4: The Crucial Rest Period (10 minutes)
When your timer goes off, remove the pan from heat but keep it covered. Let it rest for 10 minutes – this is absolutely essential! This resting time allows the rice to finish cooking with residual heat and lets the moisture distribute evenly throughout each grain.
I cannot stress this enough: do not skip this step! It’s the difference between perfectly fluffy rice and disappointment.
Step 5: Fluff and Serve
After the rest period, remove the lid (prepare for that amazing aroma!) and fluff the rice gently with a fork. Don’t use a spoon – you’ll mash the grains. Fork fluffing keeps everything light and separate.
Your rice should be tender but still have a slight bite, with each grain distinct and fluffy. If you see any excess moisture, just let it sit uncovered for a few more minutes.
Chef’s Tips & Variations
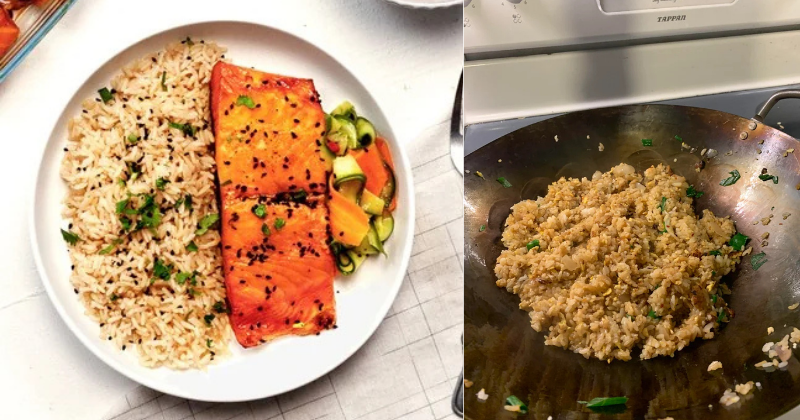
Storage Secrets: Cooked brown rice keeps beautifully in the refrigerator for up to 5 days. Store it in airtight containers, and it reheats perfectly in the microwave with a splash of water. Pro tip: I always make extra because leftover brown rice makes the best fried rice – the slightly dried texture is actually perfect for stir-frying!
Flavor Variations: Once you master the basic method, the world is your oyster! Try cooking the rice in chicken or vegetable broth instead of water for extra depth. Add a bay leaf or a few cardamom pods to the cooking liquid for an aromatic twist. I love adding a squeeze of fresh lemon juice and some chopped herbs right before serving.
Meal Prep Magic: This rice is a meal-prepper’s dream. Portion it into containers and use it as a base for grain bowls throughout the week. It pairs beautifully with roasted vegetables, grilled proteins, and your favorite sauces.
Troubleshooting: If your rice turns out too firm, add a splash more water next time and cook for an extra 5 minutes. If it’s too soft, reduce the water slightly and check your heat level – you might be cooking too vigorously. Every stove is different, so don’t be afraid to adjust!
Perfect Pairings: This brown rice is incredibly versatile. It’s fantastic under curry, mixed into grain salads, or served alongside grilled chicken or fish. I especially love it in Buddha bowls with roasted vegetables and a tahini dressing.
Final Thoughts
There’s something deeply satisfying about mastering a basic technique that transforms your everyday cooking. This brown rice method has become such a staple in my kitchen that I probably make it twice a week! It’s proof that healthy doesn’t have to mean boring or complicated.
The best part? Once you nail down this technique, you’ll never fear brown rice again. You’ll actually start craving it, which honestly shocked me more than anyone. My family now requests this over white rice, and that’s saying something!
Give this method a try – I’m confident it’ll change your relationship with brown rice just like it did mine. And hey, if you end up with a batch that’s not quite perfect, don’t stress! Even imperfect brown rice beats takeout any day. You’ve got this!
Serve it as a side dish, use it as a base for power bowls, or turn tomorrow’s leftovers into the most amazing fried rice. However you enjoy it, you’ll be fueling your body with wholesome, delicious grains that actually taste like something you want to eat. Now that’s what I call a win-win!